How to Use an Oscilloscope in 2024 (Basics 101)
Before jumping right to the information about how to use an oscilloscope, it is important to understand how oscilloscopes work. So, let’s start with the basics.
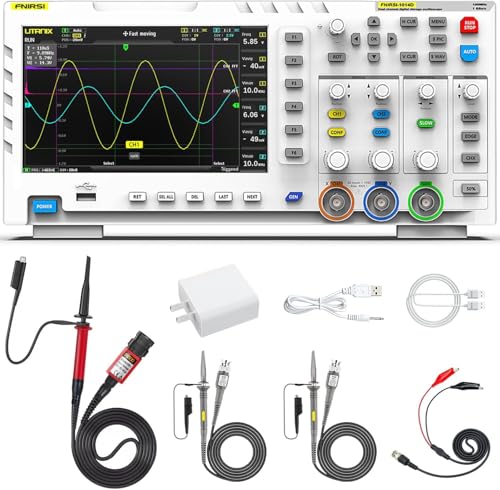


Don’t forget to also peruse our oscilloscopes, spectrum analyzers, and other electronics lab tools.
How Do Oscilloscopes Work?
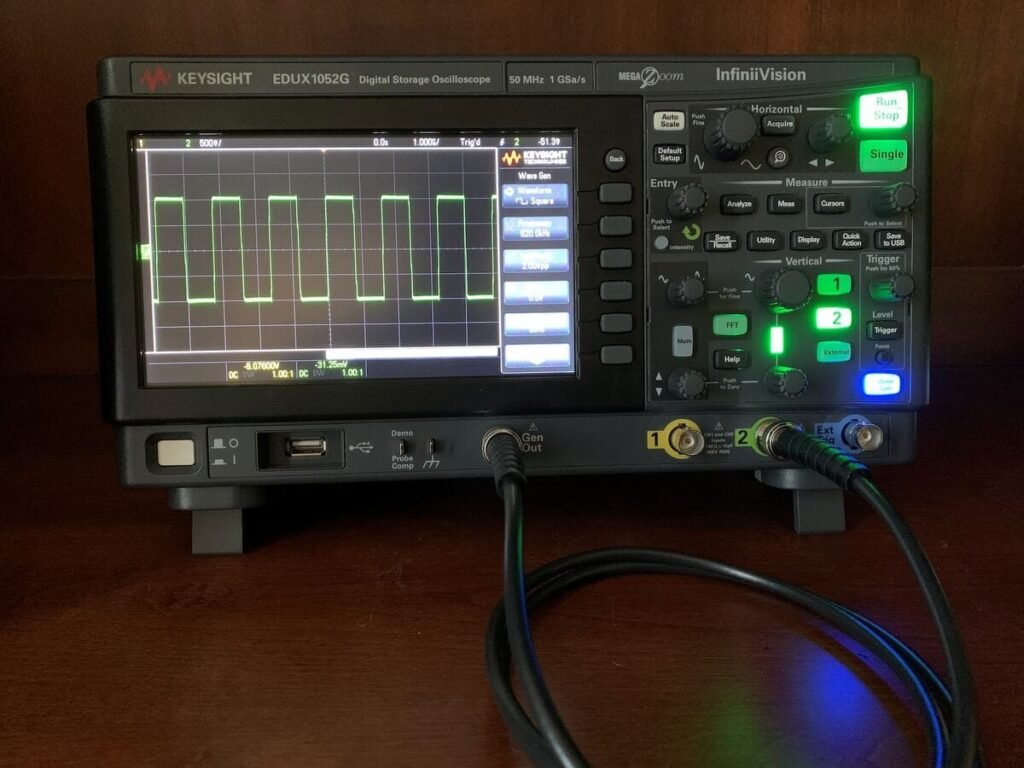
It is an instrument that serves to observe, analyze and record, in the form of graphs, electrical signals, which change over time.
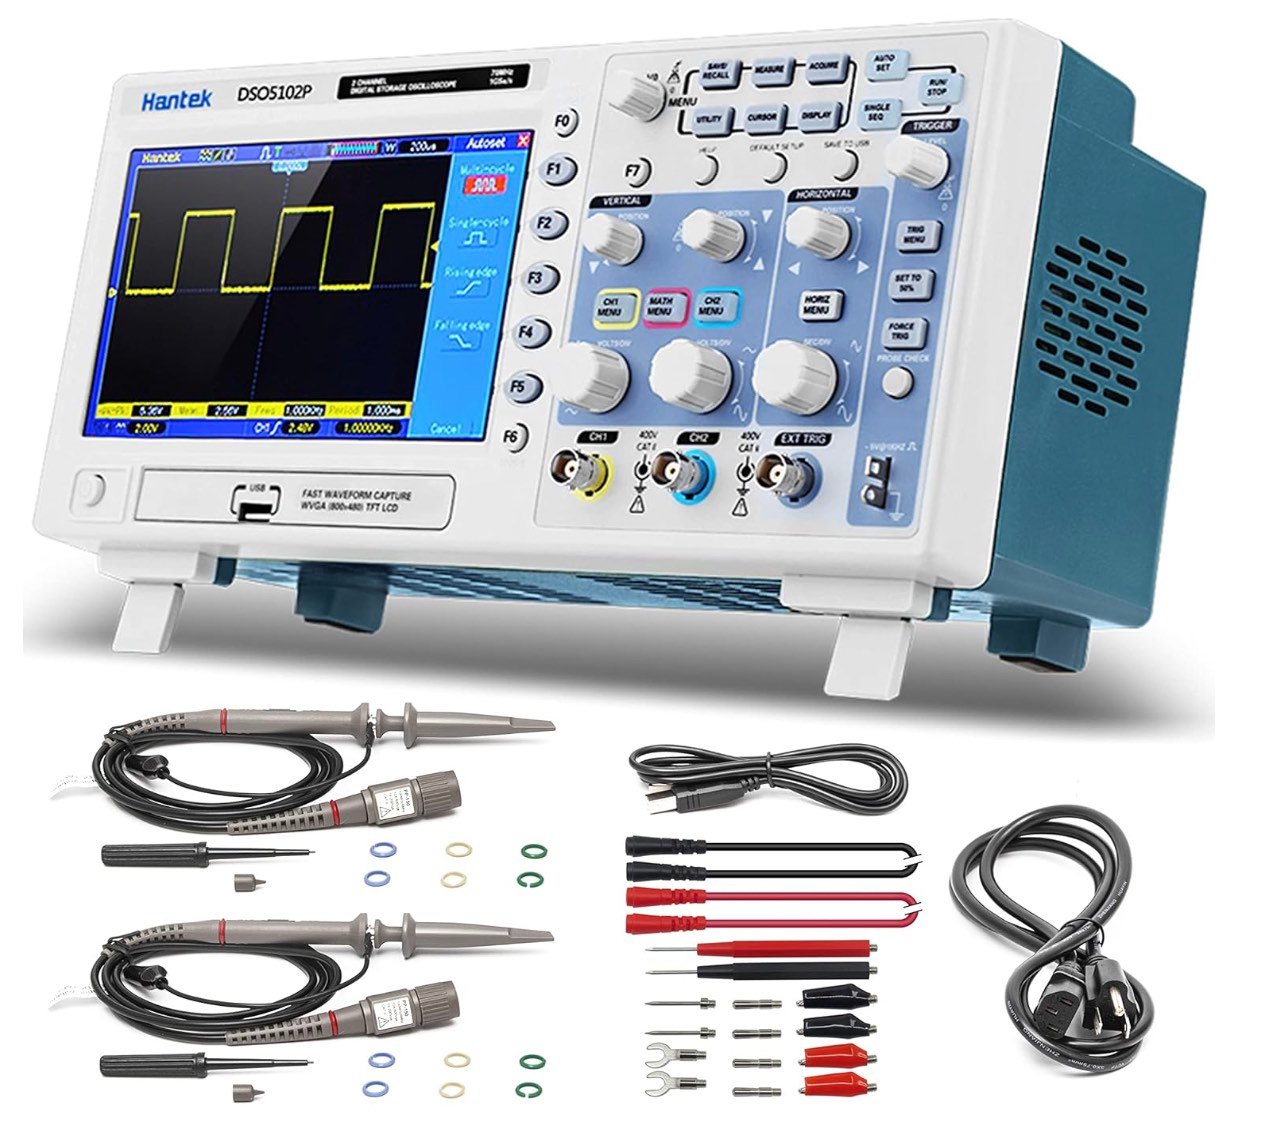

Through his/her screen and other devices connected to it, the expert visualizes the electrical signals as coordinates, in which the horizontal axis (X) records the times and the vertical axis (Y) the voltages. The image produced is called an oscillogram.
This device is frequently used in signal electronics, next to a spectrum analyzer, which allows you to observe the frequency and size of an electromagnetic wave.
Other devices that complement it are the multimeter, the power supply and the function generator or arbitrary.
What Are Oscilloscopes Used For?
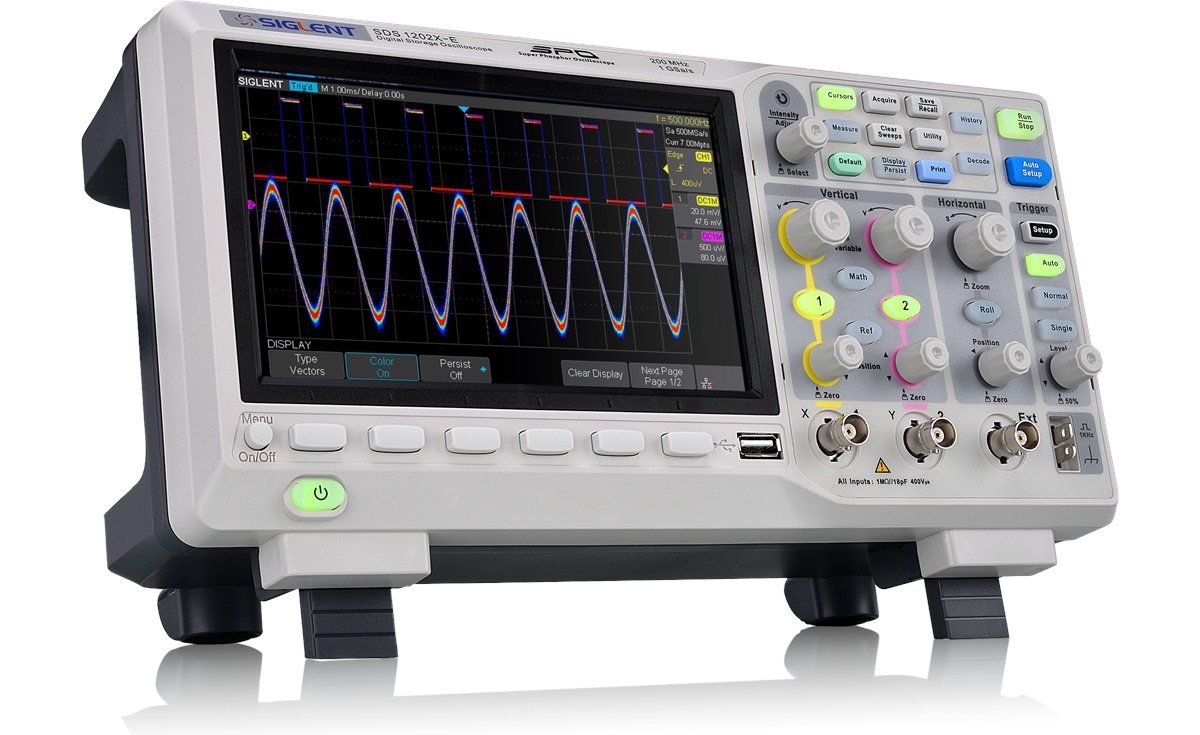
In the professional and domestic fields, an oscilloscope is useful for directly checking the period and voltage of a signal and, indirectly, the frequency of a signal.
- You can also, for example, establish which part of the signal is AC and which one is DC.
- It is also essential for locating faults in electrical circuits.
- It is also useful to measure the phase between two signals and detect the noise of the signal and how it varies over time.


It is also a very versatile and necessary device for electronics technicians, as well as doctors. Together with an appropriate transducer, which converts physical quantities into electrical signals, the doctor can measure blood pressure and heart rate.
But with the transducer it also provides us with the sound power and the magnitude of vibrations in a car, among many other measurements.
We have talked about the uses of an oscilloscope in one of our previous articles so feel free to check it out for more detailed information.
How To Use An Oscilloscope
Basically, it is about connecting the electrical circuit that you want to examine to the input terminals of the device, then you turn it on and adjust a scale on the device according to the input signal.
If we take into account that the scale is the amount of time (horizontal line of the screen) that the electrical signal takes to complete the cycle, at least one millisecond of information will be required. And it is that a signal of 1,000 Hz (1 kHz) is repeated 1,000 times per second.


Another parameter to choose is the range according to the input signal, understood as the maximum and minimum voltage that the device can display, the range for a signal that transforms between +1 and -1 volts should be at least 1 volt.
A third parameter that must be adjusted is the threshold. Since the oscilloscopes require a signal greater than the value of their threshold to start data capture, for a 1 volt signal, the threshold can be set in the 1 to 1/2 volt channel.
In this step you will see on the screen a simple voltage signal. Similar to the displacement of a sine wave, the point in the device goes down and up. On the one hand, the minimum and maximum heights of the wave (signal) indicate the voltage range and, on the other, the amount of time required for the signal to be repeated constitutes the frequency.
In short, oscilloscopes are useful for detecting faults in electrical circuits and identifying whether it is alternating current (AC) or direct current (DC). They play an essential role in the detection of possible unevenness of the signal of a circuit.

Customer Review Feedback on How to Use an Oscilloscope
Using an oscilloscope effectively requires understanding its basic functions and controls. Begin by connecting the probe to the input channel and the ground clip to a suitable reference point in your circuit. Adjust the volts/division knob to ensure the signal fits comfortably on the screen without clipping. Use the time/division knob to set an appropriate time scale that allows you to view the desired number of waveform cycles. The trigger controls are crucial for stabilizing the waveform display; adjust the trigger level and source to achieve a steady image. Most modern oscilloscopes offer automatic setup functions that can quickly configure these settings for you. Once you have a stable waveform, use the measurement functions to analyze signal characteristics such as frequency, amplitude, and rise time. Many scopes allow you to freeze the display for detailed analysis. For more complex measurements, learn to use advanced features like math functions, FFT analysis, and multiple-channel operations. Always ensure proper probe compensation and be mindful of the probe’s attenuation factor. Regular practice with various signals will improve your proficiency. While the learning curve can be steep initially, mastering these basic operations opens up a world of insight into electronic circuit behavior, making the oscilloscope an invaluable tool for debugging, design verification, and understanding complex systems.
Reviewer Final Comments
Mastering the oscilloscope opens a window into the world of electronic signals. Start with the basics: understand controls, probe connections, and signal interpretation. Learn to adjust time and voltage scales for accurate waveform viewing. Explore triggering to capture specific events and triggering modes for complex signals. Experiment with advanced features like FFT analysis and waveform math to delve deeper. Practice signal measurements, including frequency, amplitude, and rise time, to troubleshoot circuits effectively. Embrace online resources, tutorials, and manuals for continuous learning. With patience and practice, harness the oscilloscope’s power to unravel the mysteries of electronic signals and elevate your understanding of circuit behavior.

