How to Use an OBD2 Scanner 2024 (Ultimate Step-by-Step Guide)
An OBD2 scanner can be your best friend when it comes to troubleshooting automotive issues. In this article, we will guide you through the process of using an OBD2 scanner effectively, helping you to diagnose and fix problems like a pro.
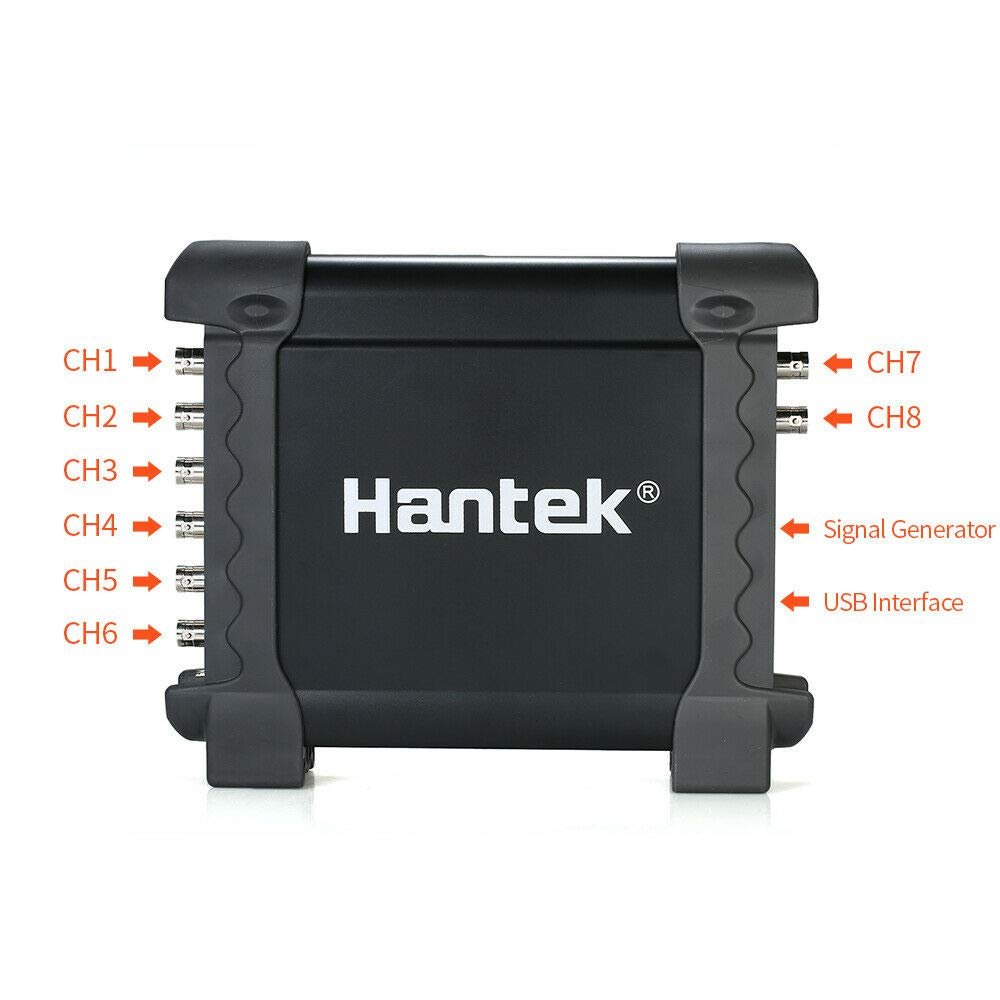
Table could not be displayed.Don’t forget to also peruse our oscilloscopes, spectrum analyzers, and other electronics lab tools.
What is an OBD2 Scanner?
Before we dive into the details, let’s quickly clarify what an OBD2 scanner is. OBD stands for On-Board Diagnostics, and the “2” refers to the second generation of the system.
An OBD2 scanner is a diagnostic tool that connects to your vehicle’s OBD2 port, which is usually located under the dashboard near the steering column. It retrieves valuable data from your car’s onboard computer, providing you with insights into its performance and identifying any potential issues.
For more information about what this tool is and why you need one, please refer to our article here.

How To Use An OBD2 Scanner (Step-by-Step Guide)
Step 1: Locate the OBD2 Port
The first step is to find the OBD2 port in your vehicle. As mentioned earlier, it is typically situated under the dashboard, near the steering column. However, it may vary depending on the car’s make and model. Refer to your vehicle’s manual or do a quick online search to locate the exact position.
Step 2: Connect the OBD2 Scanner
Once you’ve found the OBD2 port, connect the OBD2 scanner to it. The scanner usually has a cable with a connector that matches the port. Insert the connector firmly but gently into the port until it clicks into place.
Step 3: Turn on the Ignition
To power up the OBD2 scanner and establish a connection with your vehicle’s computer, turn on the ignition without starting the engine. Some scanners might require you to switch on the engine, so check the instructions specific to your device.
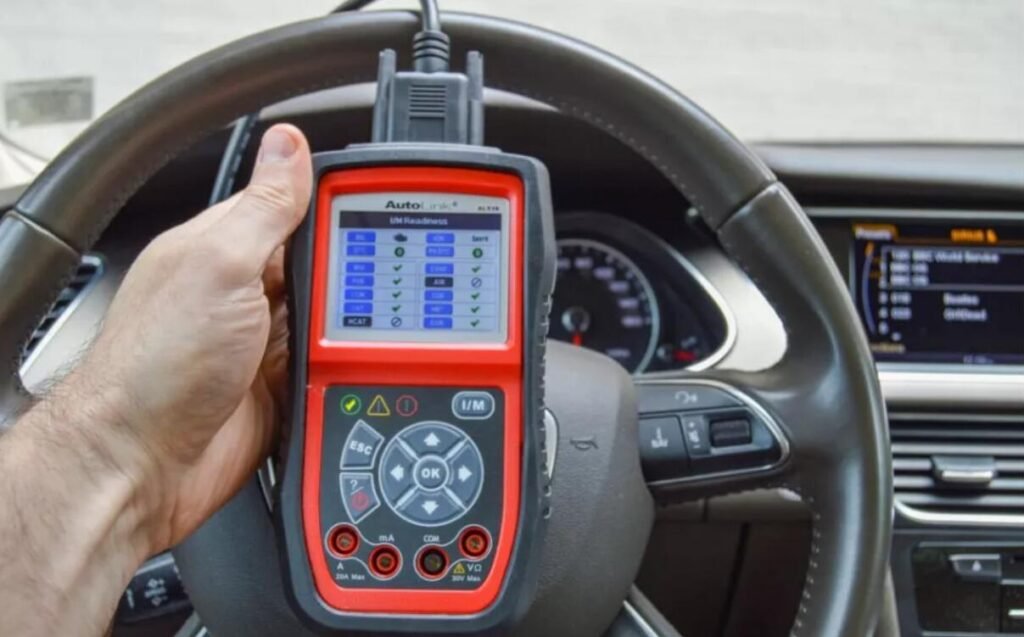
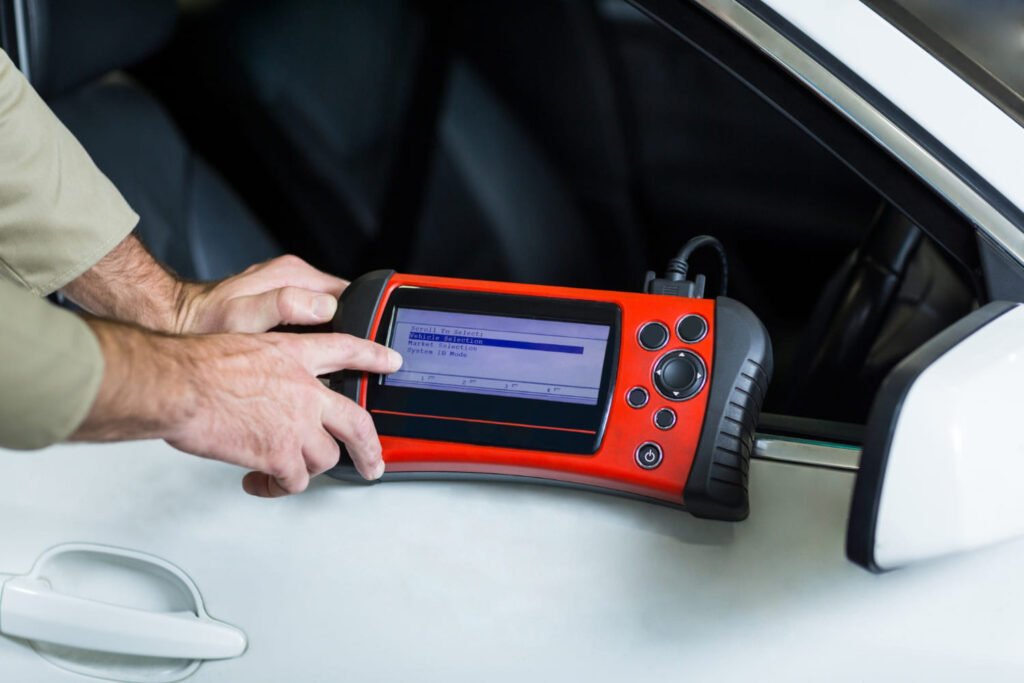
Step 4: Navigate the Scanner Menu
Once the scanner is powered on, you’ll be greeted with a menu on the screen. Use the arrow keys or touch interface (if applicable) to navigate through the options. Look for the “Scan” or “Diagnose” function to initiate the diagnostic process.

Step 5: Perform a Diagnostic Scan
Select the “Scan” option, and the OBD2 scanner will communicate with your car’s onboard computer. It will retrieve and display any trouble codes stored in the system. These codes provide valuable information about the specific issues your vehicle may be experiencing.
Step 6: Interpret the Trouble Codes
Each trouble code consists of a letter followed by a series of numbers. Write down these codes or use the scanner’s freeze frame function to capture them. You can then refer to the scanner’s manual, search online, or use a dedicated app to decode the trouble codes and understand their meaning.
Step 7: Research and Troubleshoot
Armed with the trouble codes and their explanations, it’s time to delve deeper into the problem. Conduct research online or consult repair manuals specific to your vehicle to understand the causes and possible solutions associated with the trouble codes.
Step 8: Clear the Trouble Codes (optional)
If you have addressed the issues causing the trouble codes and made the necessary repairs, you have the option to clear the codes using the OBD2 scanner. This step is not mandatory but can be useful to ensure the problem has been resolved. Be aware that clearing the codes will also reset any stored data, including readiness monitors.

How To Use An OBD2 Scanner With Push Button Start
If your vehicle is equipped with a push button start system, you might be wondering how to use an OBD2 scanner effectively. While the overall process remains similar, there are a few additional steps to follow.
Here’s a step-by-step guide to using an OBD2 scanner with push button start:
Step 1: Locate the OBD2 Port
First, locate the OBD2 port in your vehicle. As mentioned earlier, it is typically found under the dashboard near the steering column. However, in some push button start vehicles, the OBD2 port might be located in a different area. Check your vehicle’s manual or consult online resources to find the exact position.

Step 2: Ensure the Vehicle is in the Correct Mode
With a push button start system, your vehicle might have different modes, such as “Accessory,” “On,” or “Run.” To establish a connection with the OBD2 scanner, ensure that the vehicle is in the “On” or “Run” mode. This typically means pressing the start button without fully starting the engine.
Step 3: Connect the OBD2 Scanner
Once the vehicle is in the correct mode, connect the OBD2 scanner to the OBD2 port using the appropriate cable and connector. Ensure a secure and firm connection.
Step 4: Power on the Scanner
Power on the OBD2 scanner by pressing the corresponding button or switch. Some scanners might automatically turn on when connected to the vehicle. Refer to the scanner’s manual for specific instructions.
Step 5: Initiate the Diagnostic Process
Navigate through the scanner’s menu using the provided controls or touch interface. Look for the “Scan” or “Diagnose” option and select it to start the diagnostic process.
Step 6: Retrieve and Interpret the Trouble Codes
The scanner will communicate with your vehicle’s onboard computer and retrieve any stored trouble codes. These codes indicate specific issues or faults in your vehicle. Write down the codes or use the scanner’s freeze frame function to capture them. Refer to the scanner’s manual or search online to decipher the codes and understand their meaning.
Step 7: Research and Troubleshoot
With the trouble codes in hand, conduct further research to understand the causes and potential solutions associated with them. Utilize online resources, vehicle-specific forums, or consult repair manuals to gain insights into resolving the identified issues.
Step 8: Clear the Trouble Codes (optional)
If you have addressed the problems and made the necessary repairs, you have the option to clear the trouble codes using the OBD2 scanner. This step can be helpful to ensure that the issues have been resolved. Keep in mind that clearing the codes will also reset any stored data, including readiness monitors.
Reviewer Final Comments
Learning how to use an OBD2 scanner opens up a world of automotive diagnostics, allowing you to take control of your vehicle’s maintenance and repairs. By following the simple steps outlined in this article, you can quickly and effectively diagnose problems, saving both time and money.
So, grab your OBD2 scanner and unlock the potential to keep your car running smoothly and efficiently!